
If you spend hours building massive bases on survival SMPs, dueling in PvP arenas, or grinding for Netherite, you know how wild Minecraft multiplayer can get. Honestly, as a player who has spent far too many late nights mining for diamonds, nothing ruins a session faster than sudden lag spikes, getting randomly kicked, or falling straight into lava because of a rubberband snap.
Using a VPN while playing Minecraft has become super popular. It helps protect your privacy, keeps away annoying DDoS attacks, and helps you bypass restrictive Wi-Fi networks at school or work. But when a VPN causes your ping to skyrocket or teleports your character backward every five seconds, playing the game becomes painful.
Luckily, you do not have to choose between keeping your home internet safe and enjoying smooth gameplay. In this complete guide, we will break down why you should use a VPN for Minecraft, how network lag actually works, and every practical step you can take to fix high ping, eliminate packet loss, and stop rubberbanding for good.
Do You Need a VPN for a Minecraft Server?
Strictly speaking, no, a VPN is not required to launch Minecraft or join online worlds.
For example, if you spend all your time in offline creative mode or running around on a local server hosted in your own house, your home network is already completely safe.
But if you love playing on big public servers, a VPN quickly becomes a gamer’s best friend.
As a player, here is what happens behind the scenes:
- Your regular internet connection broadcasts your home IP address to every public server host you join.
- Sadly, sore losers in PvP arenas can target that exposed IP address to crash your home Wi-Fi.
- Did you know a reliable VPN creates a private encrypted connection that completely hides your home location?
Most importantly, using a VPN means you get to enjoy multiplayer minigames, public survival worlds, and custom mods with complete peace of mind.
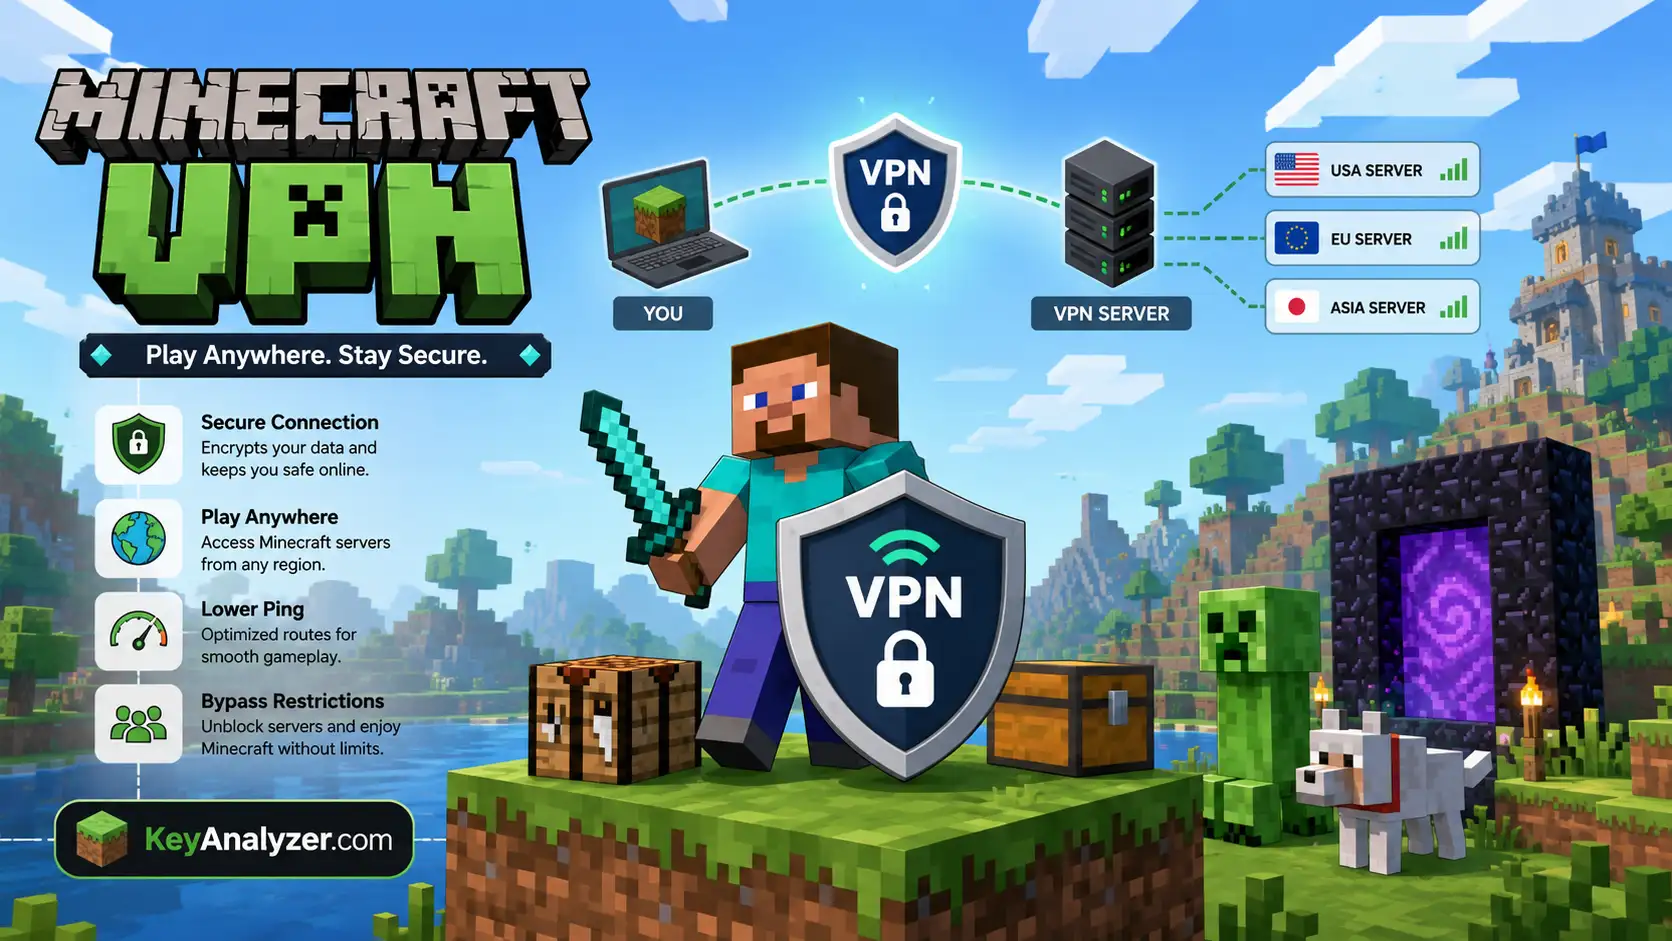
Key Reasons to Enable a VPN Before Hopping Into Minecraft Servers
From massive survival SMPs to fast-paced minigame lobbies, running a VPN gives players a massive edge in security and connectivity.
- Immunity to Knock-Out Attacks (DDoS): Bad actors in competitive arenas can harvest exposed IP addresses to crash home routers. For example, connecting through a VPN puts a high-capacity defense wall between toxic players and your router.
- Total IP Masking & Privacy: Of course, every public server keeps track of who joins. A VPN obscures your true internet address, preventing server logs from linking your gaming profile to your real-world city or home location.
- Freedom on Restricted Networks: School and library Wi-Fi networks often block gaming ports. A VPN disguises your traffic, letting you smoothly bypass local network filters during free time.
- Bypass Shared Home Bans: Sadly, if a sibling or roommate breaks a rule and gets an IP ban on your favorite server, your whole house gets locked out. Switching to a fresh VPN node provides a new IP so you aren’t unfairly penalized.
- Prevent Unwanted ISP Slowdowns: ISPs frequently throttle gaming bandwidth during peak hours. Encrypting your traffic hides your online activity from your provider, keeping your speeds fast and consistent.
Quick Summary: How to Fix Minecraft VPN Lag Quickly
If you are in the middle of a gaming session and need a fast fix right away, here is the quick checklist to fix your connection:
- Pick a Closer VPN Server Node: Connect to a VPN server that is physically close to you or close to where the Minecraft server host is located.
- Switch to WireGuard Protocol: Change your VPN connection protocol from OpenVPN to WireGuard or NordLynx for maximum speed and lower latency.
- Enable Split Tunneling: Set your VPN to only route Minecraft (
javaw.exe) so other background apps do not hog your VPN bandwidth. - Switch to a Wired Ethernet Cable: Replace Wi-Fi with an Ethernet cable to instantly eliminate packet loss and stop rubberbanding.
- Lower Your In-Game Render Distance: Reduce view distance to 8–10 chunks in Video Settings to lighten the chunk data your network has to process.
Understanding the Difference: Lag, High Ping, and Rubberbanding
To fix network problems, you first need to understand what type of lag you are actually dealing with. Many players lump all connection issues under the word “lag,” but high ping, rubberbanding, and server TPS drops are very different problems.
What is Ping (Latency)?
Ping is measured in milliseconds (ms). It represents how long it takes for a data packet to travel from your computer to the Minecraft server host and back.
- 0–30 ms: Ideal performance. Hits register instantly, and blocks break without delay.
- 31–80 ms: Normal gaming range. Perfectly playable for casual survival and building.
- 81–150 ms: Noticeable delay. Swords hit slightly late, and chest inventories open slowly.
- 150+ ms: High latency. Hard to play competitive PvP, parkour, or fast-paced minigames.
What is Rubberbanding?
Rubberbanding happens when your character runs forward, but suddenly snaps backward to where you were a few seconds ago.
Rubberbanding is caused by severe packet loss or desynchronization. Your Minecraft game client thinks you moved forward, but the server never received those movement packets. When the server finally updates, it forces your character back to its last confirmed location.
What is Server TPS Lag?
Ticks Per Second (TPS) measures the server’s internal processor clock. A healthy Minecraft server runs at 20 TPS. If a server is overloaded with hundreds of mobs, complex redstone machines, or flying players using Elytras, the TPS drops.
When TPS drops, mobs freeze in mid-air, crops stop growing, and chat messages delay. Honestly, as a player, you should know that server TPS lag is caused by the server host hardware, not your VPN or home internet connection.
Quick Comparison: Types of Minecraft Lag
| Issue Name | What You See On-Screen | Main Cause | Is it Caused by VPN? |
|---|---|---|---|
| High Ping (Latency) | Delay when opening chests, placing blocks, or hitting mobs. | Physical distance between you and the server host. | Yes, if routing through far VPN locations. |
| Rubberbanding | Snapping back continuously when walking, jumping, or sprinting. | Packet loss over Wi-Fi or unstable connection routes. | Yes, if the VPN protocol drops data packets. |
| Server TPS Drop | Mobs freeze in place, items don’t drop, time stands still. | Server CPU overload or too many entities spawned. | No, this is entirely on the server host side. |
Why Does a VPN Cause Minecraft to Lag?
Before jumping into solutions, it helps to understand why running a VPN can introduce latency.
Sharing a home Wi-Fi network, I know how easily internet bandwidth gets clogged. When you turn on a VPN, your internet traffic routes through an encrypted tunnel to a remote VPN server before reaching the game server. This process can slow things down for three main reasons:
- Extra Physical Distance: If your connection travels through an extra city or country before reaching the game server, data takes longer to make the round trip.
- Encryption Overhead: The VPN scrambles and encrypts your data packets to protect your privacy. Scrambling data takes local CPU power and processing time.
- Crowded VPN Nodes: Free or cheap VPN services often have thousands of users packed onto a single server node, causing heavy network congestion.
Step-by-Step Guide: How to Fix VPN Lag and Rubberbanding
Follow these steps in order to systematically eliminate high ping and rubberbanding from your game sessions.
- Connect to the Optimal VPN Server Location: Physical distance is the single biggest contributor to high ping.. When selecting a location in your VPN app, distance matters most. Connecting across oceans will ruin your ping time.
- If you know where the Minecraft server is located: Connect to a VPN server node in that exact same city or region. This creates a direct, high-speed connection path between the VPN and the game server host.
- If you don’t know where the server is located: Simply connect to the VPN node closest to your actual physical location to bypass local ISP throttling.
- Switch Your VPN Protocol to WireGuard: Older VPN protocols like OpenVPN create heavy encryption bottlenecks.. Most modern VPN apps allow you to change your connection protocol in settings.
- Open your VPN application settings and navigate to Connection or Protocol.
- Change the protocol from OpenVPN (UDP/TCP) to WireGuard (or your VPN’s build, like NordLynx or Lightway).
- Most importantly, WireGuard uses lightweight code that transfers data faster while using less CPU power, drastically lowering ping.
- Ditch Wi-Fi and Use a Direct Ethernet Cable: Relying on wireless Wi-Fi signals causes packet loss and severe rubberbanding.. Wi-Fi signals are prone to interference from walls and household appliances. This causes lost data packets, triggering immediate rubberbanding.
- Plug a Cat6 or Cat7 Ethernet cable directly from your router into your PC or laptop.
- A physical wired link eliminates signal fluctuations, cuts down jitter, and solves up to 70% of all rubberbanding issues instantly.
- Enable Split Tunneling for Minecraft: Prevents non-gaming apps from consuming your secure VPN bandwidth.. Split Tunneling lets you choose which apps run through the VPN tunnel and which apps use your standard connection.
- Open your VPN settings and turn on Split Tunneling.
- Add your Minecraft executable file (
javaw.exefor Java Edition orMinecraft.Windows.exefor Bedrock) to the VPN path. - Leave web browsers, Discord, and background software on your regular network. This frees up maximum VPN bandwidth specifically for your game packets.
- Close Heavy Background Downloads and Streams: Background programs secretly eat bandwidth and cause sudden ping spikes.. Applications running in the background can saturate your internet upload and download limits, leading to bufferbloat.
- Open Task Manager on Windows (
Ctrl + Shift + Esc). - Close applications like Chrome, Steam updates, OneDrive, Torrent clients, or live video streams.
- Check that Windows Update isn’t downloading large files in the background while you play.
- Optimize In-Game Video and Network Settings: Lowering chunk requests reduces network payload size.. Your Minecraft client settings directly impact how much data needs to be sent back and forth over your connection.
- Go to Options > Video Settings in Minecraft.
- Lower your Render Distance (view distance) to 8 or 10 chunks. High render distances force the server to send massive amounts of chunk data over your VPN.
- Lower Simulation Distance to reduce entity packet updates.
- Flush Your DNS and Reset Sockets: Outdated network cache files can create connection conflicts.. Clearing your network cache removes outdated routing data that might be forcing your VPN through bad internet paths.
- Open Command Prompt as Administrator on Windows.
- Type
ipconfig /flushdnsand press Enter. - Type
netsh winsock resetand press Enter. - Restart your computer to apply the changes.
Comparing VPN Connection Protocols for Minecraft
Choosing the right VPN protocol is one of the easiest ways to fix game lag. Here is how the most common protocols perform for online gaming:
| VPN Protocol | Latency / Ping | Packet Loss / Stability | Best Used For |
|---|---|---|---|
| WireGuard / NordLynx | Lowest (Best for Gaming) | High stability, low jitter | Competitive Minecraft PvP, SMPs, Minigames |
| IKEv2 | Low | Moderate | Mobile gaming or laptop Wi-Fi connections |
| OpenVPN (UDP) | Moderate | Medium | General browsing and secure file transfers |
| OpenVPN (TCP) | High (Not recommended) | High latency | Secure browsing where speed doesn’t matter |
How to Set Up Split Tunneling for Minecraft (Java Edition)
Finding the correct file to add to your VPN’s Split Tunneling list can be tricky because Minecraft Java Edition runs through a Java executable file, not standard launcher files.
Here is how to locate the exact file:
- Open Minecraft and load into your world or any server.
- Press
Ctrl + Shift + Escon your keyboard to open Task Manager. - Look for Java(TM) Platform SE binary or Minecraft under the processes list.
- Right-click it and select Open File Location.
- Copy the file path address from the top bar (it usually ends in
\javaw.exe). - In your VPN app’s Split Tunneling settings, click Add App, paste that file path, and select
javaw.exe.
Now, of course, only your actual Minecraft game traffic will run through the VPN, keeping your connection fast and responsive!
Advanced Router Settings: Quality of Service (QoS) & Bufferbloat
If other people in your house stream movies or download large files while you play, your ping might suddenly jump from 30 ms to 300 ms. This phenomenon is called bufferbloat or latency under load.
To stop household traffic from ruining your game:
1. Enable Quality of Service (QoS)
Log in to your home router’s admin panel (usually by typing 192.168.1.1 or 192.168.0.1 into a web browser).
- Look for QoS or Bandwidth Management settings.
- Set your gaming PC or console as the Highest Priority device.
- Most importantly, this tells your router to process your Minecraft data packets first, even if someone else starts downloading a huge movie.
2. Enable Smart Queue Management (SQM)
If your router supports SQM (such as CAKE or fq_codel algorithms), enable it. SQM manages internet queues intelligently to keep ping rock-solid even when your home bandwidth is pushed to its max limits.
What to Do If a Minecraft Server Blocks Your VPN Connection
Sometimes you fix your lag, but when you try to join a public server like Hypixel or complex SMPs, you get kicked with a message saying VPN or proxy detected.
Many large public Minecraft servers use anti-bot plugins to stop ban evaders from creating unlimited alt accounts using commercial VPN IPs.
If you encounter this issue, try these solutions:
- Switch VPN Nodes: Disconnect and reconnect to a different server location in the same city. Commercial VPNs have thousands of IP addresses, and only some of them might be flagged.
- Enable Obfuscated Servers: Check if your VPN has an “Obfuscation” or “Stealth” option in its connection settings. This scrambles VPN metadata so anti-cheat plugins cannot tell you are using a VPN.
- Use a Dedicated IP: Some premium VPN services allow you to purchase a Dedicated IP address. Because this private IP address belongs exclusively to you, server anti-bot systems won’t flag it as a commercial proxy.
Frequently Asked Questions (FAQ)
Can a VPN actually lower my ping in Minecraft?
In rare cases, yes! If your Internet Service Provider (ISP) uses bad or indirect routing paths to reach a specific Minecraft server host, a gaming-optimized VPN can reroute your connection through a shorter, direct path, effectively lowering your latency.
Why is my ping low, but I am still rubberbanding?
Low ping means your data travels fast, but rubberbanding is caused by packet loss (dropped data packets along the way). This usually happens due to Wi-Fi signal interference or unstable VPN server protocols. Switching to an Ethernet cable and WireGuard fixes this.
Do performance mods like Sodium or OptiFine help with VPN lag?
Mods like Sodium, Lithium, or OptiFine boost your client’s Frame Rate (FPS) and reduce CPU render lag. While they don’t directly change your internet ping, optimizing your client performance helps your game process incoming network packets much faster, reducing overall game stutter.
Final Thoughts
Honestly, as a player, playing Minecraft with a VPN doesn’t have to mean putting up with lag, rubberbanding, or high ping.
By switching to a closer VPN server node, using modern protocols like WireGuard, plugging in an Ethernet cable, and setting up Split Tunneling, you can keep your home connection private and secure while enjoying smooth, fast, and responsive gameplay.
You May Also Like
 Computers & PC Games
How Old Do You Have to Be to Play Fortnite? Age Rating and Parental Controls
 Computers & PC Games
Is 16GB RAM Enough for Gaming?
 Computers & PC Games
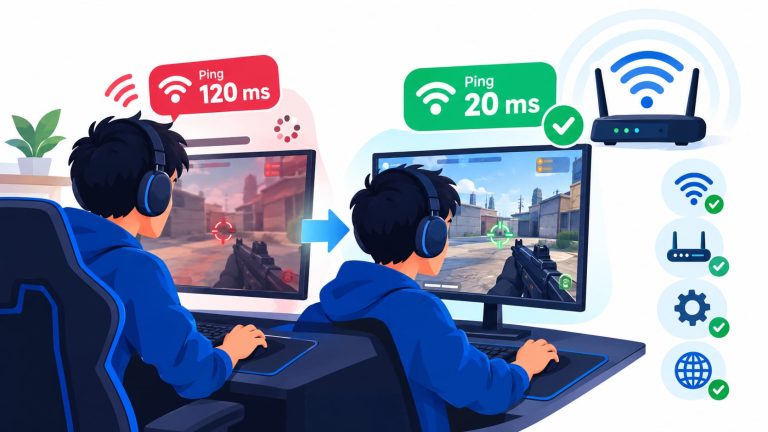
How to Reduce Ping: 8 Fixes That Actually Help (PC, PS5, and Xbox)
 Computers & PC Games
Is RomsFun Safe and Legit? My Complete Review and Testing Experience
 Computers & PC Games
10 Best Modded Minecraft Server Hosting (2026): Pricing, Specs & Honest Picks for Every Modpack
 Computers & PC Games