
For months, I had a Wi-Fi problem that became incredibly frustrating. My router sits on the ground floor of my house, while my room is on the second floor. By the time the signal reached my room, I’d often have just one or two bars. Video calls would freeze mid-sentence, streaming buffered constantly, and even loading a simple webpage felt like a chore. I kept telling myself that weaker Wi-Fi upstairs was normal, but eventually I got tired of putting up with it.
The dead zone wasn’t a minor inconvenience. It affected my work, my downtime, and pretty much everything I did on that floor. I tried the usual quick fixes first: repositioning the router, changing Wi-Fi channels, and even moving my desk closer to the stairs. None of them made much difference. The combination of distance, walls, and the floor between the router and my room was simply too much for my existing setup. At that point, I realized I needed to address the coverage problem itself rather than keep working around it.
So I decided to fix it properly. I went to a networking forum and explained my situation: a second-floor dead zone, a router that struggled to reach it, and a need for usable speed, not just a stronger-looking signal bar. That started my research into how to extend Wi-Fi range and eventually led me through the options I’m about to share, including the products I tried, the speeds I measured, and what actually worked for me.
Step 1: Getting Advice and Choosing a Range Extender
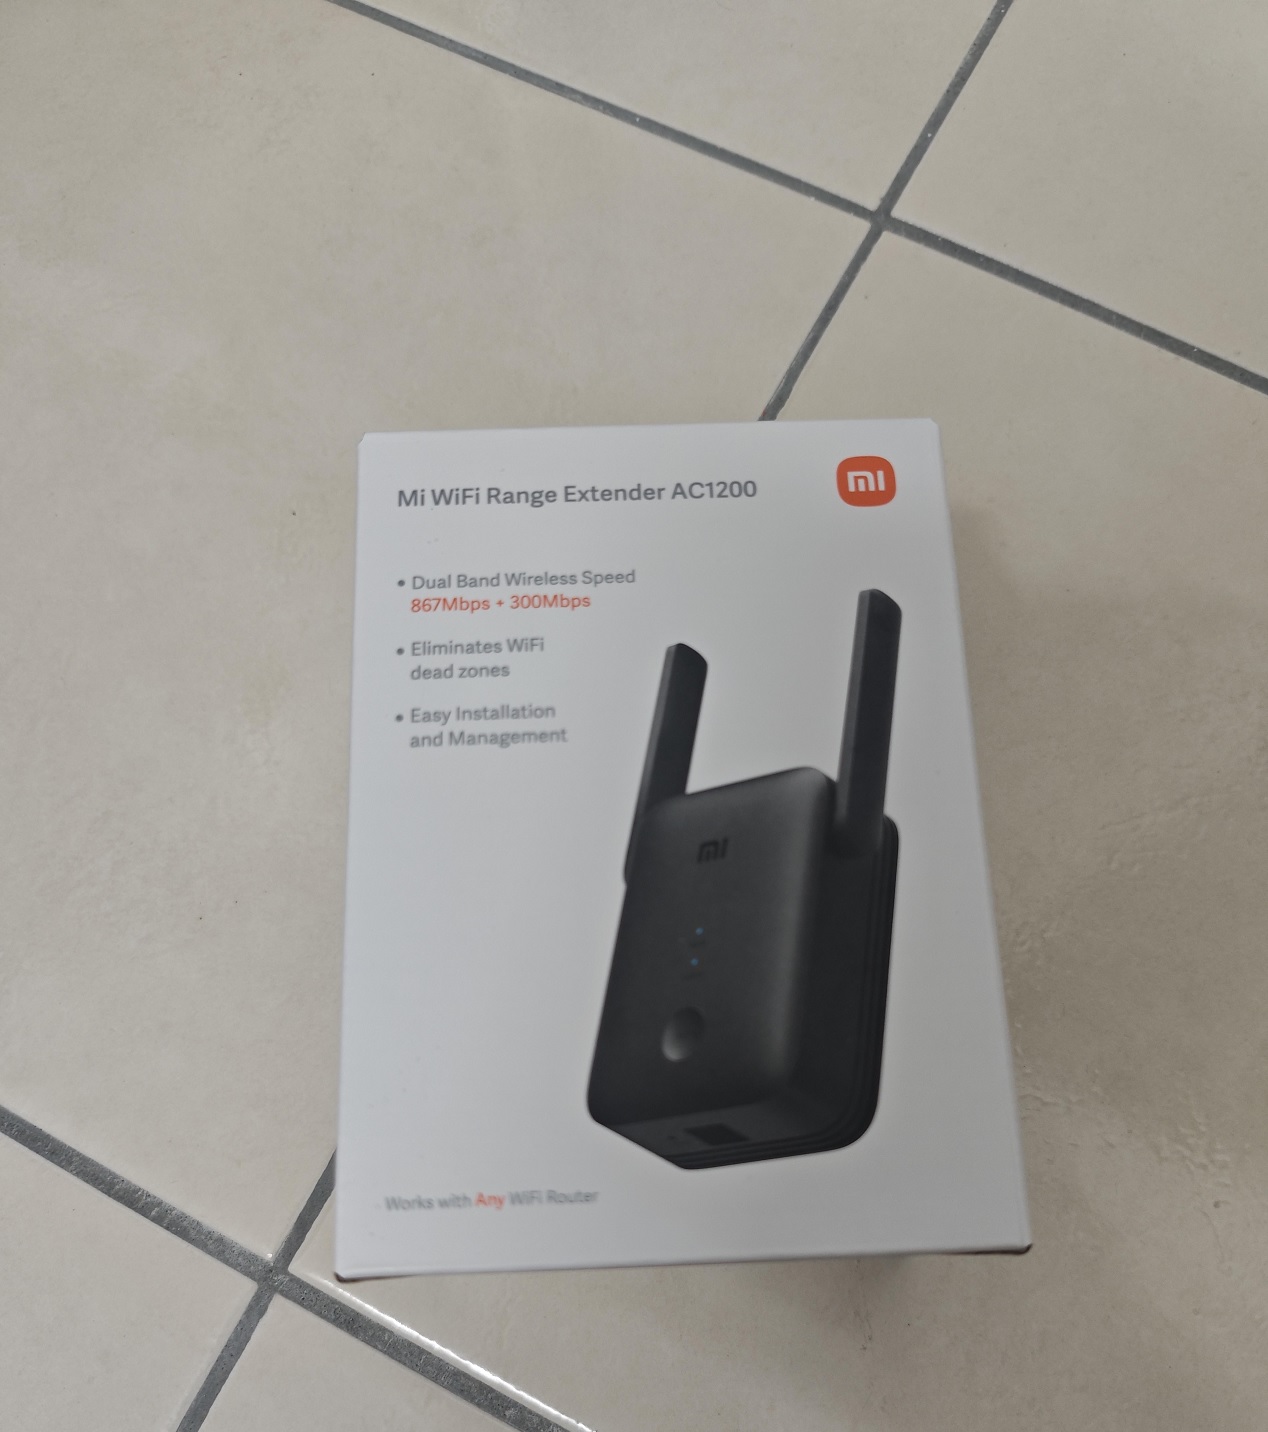
On that forum, one member recommended the Xiaomi Mi Wi-Fi Range Extender. I found one on an online marketplace for $22.99 at the time, which was cheap enough that I figured it was worth trying. Xiaomi is also a well-known consumer electronics brand, so finding setup guides and troubleshooting information was relatively easy.
Xiaomi Mi Wi-Fi Range Extender Specs
- Dual-band Wi-Fi
- Up to 867 Mbps on 5 GHz
- Up to 300 Mbps on 2.4 GHz
- Advertised combined class of up to 1,200 Mbps
The device arrived within a few days. Setup was straightforward, and because the extender is commonly used, I found plenty of video tutorials that walked through the process. I had it up and running in under 20 minutes.
Testing It Out: How Far Does a Wi-Fi Extender Actually Reach?
This was the part I cared about most. “Extends your range” sounds great, but the real question is whether the connection remains useful once the extender is doing the work.
I placed the extender near the edge of my router’s existing coverage rather than putting it directly in the dead zone. Then I went upstairs and checked my phone.
The signal was much stronger, and my phone connected to the extender’s network without any trouble.
But signal strength alone does not tell you how much real-world throughput or stability you will get, so I ran a speed test as well.
My main Wi-Fi connection typically reached around 100 Mbps. When I connected through the extended network, I measured about 97 Mbps in that test.
That was a single test under my normal home-network conditions, so I would not treat it as a benchmark for the extender itself. Still, the difference was small in my particular setup, and for what I was doing, including video calls, streaming, web browsing, and regular downloads, the connection felt more than fast enough.
My Takeaway
The test showed me that a Wi-Fi extender can make a dead zone much more usable when it is placed correctly. In my setup, the extended connection came surprisingly close to the speed I was getting from the main network.
That does not mean every extender will deliver the same result. Distance from the router, wall and floor materials, interference, the router and extender hardware, and the connection between the two devices can all affect performance.
The biggest lesson for me was simple: where you place the extender matters just as much as the extender itself.
Best Way to Extend Wi-Fi Range
The best way to extend Wi-Fi range depends on where your weak signal is and how you use your network. An indoor dead zone, an outdoor coverage problem, a long-distance connection between buildings, and a fixed desktop in a weak-signal area all need slightly different solutions.
For my setup, I ended up using three approaches: a Wi-Fi extender for the indoor dead zone, a directional outdoor CPE for longer distances, and Ethernet wherever I could run a cable.
Outdoor and Long-Distance Wi-Fi
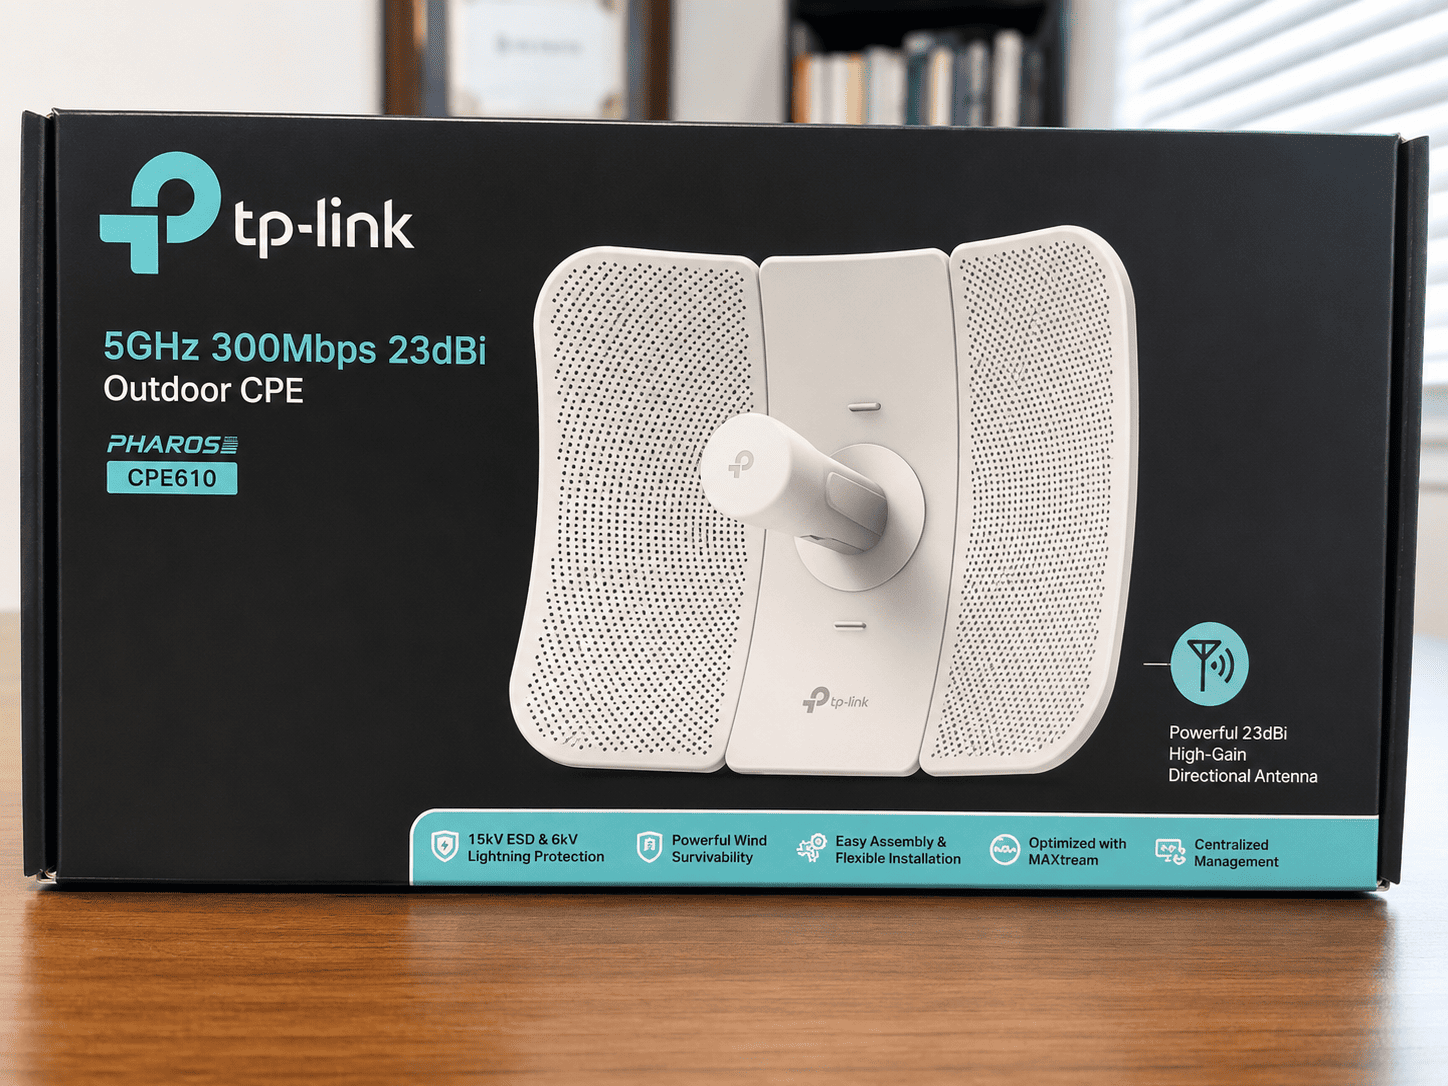
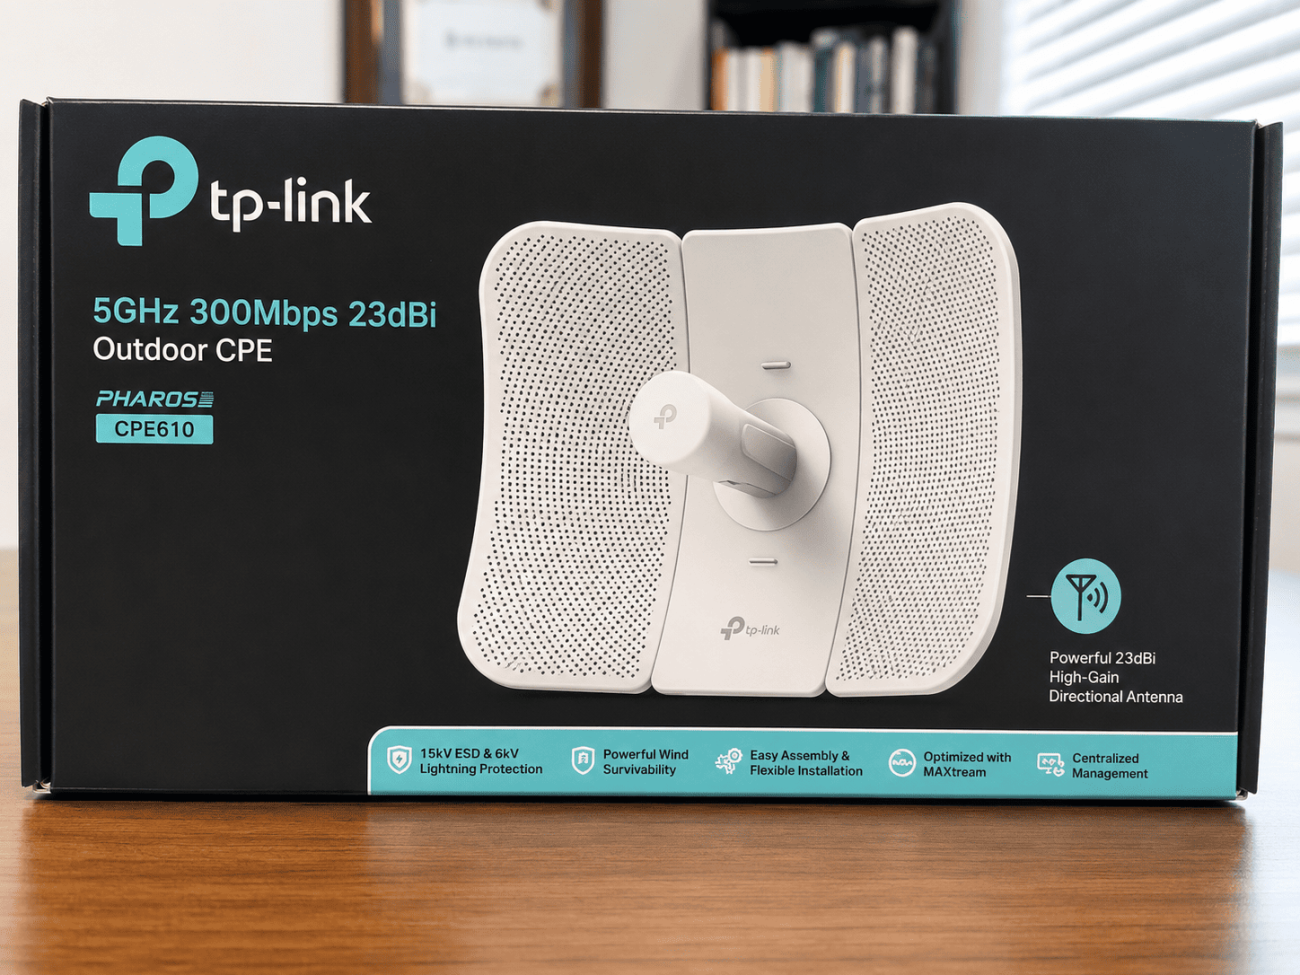
Indoor extenders can help with indoor dead zones, but outdoor coverage and long-distance connections are a different challenge. For those situations, I use the TP-Link CPE610, which my uncle recommended after using it for outdoor and long-range setups.
TP-Link CPE610 Specs
- 5 GHz wireless band
- Up to 300 Mbps wireless link rate
- 23 dBi directional antenna gain
- Designed for outdoor point-to-point and long-range wireless applications
The CPE610 has worked well for my particular setup. In my case, the outdoor connection was close to the performance I was getting from my main router indoors.
What makes this type of device different from a regular indoor Wi-Fi extender is the directional antenna. Instead of spreading the wireless signal broadly around the device, an outdoor CPE can focus the wireless link toward a specific location.
That makes this type of hardware useful for situations such as connecting a house to a garage, reaching across a yard, or creating a wireless link between two buildings. In my experience, a properly positioned outdoor CPE is a much better fit for these situations than trying to stretch a standard indoor extender beyond the environment it was designed for.
What About a Kinetic WiFi Extender?
If you use Kinetic by Windstream, you may also come across searches for a Kinetic WiFi extender. The basic idea is the same: extend wireless coverage into an area where the main router’s signal is weak.
However, compatibility depends on the exact extender, router, and service setup. I would check the specific Kinetic equipment or extender model rather than assuming that every third-party Wi-Fi extender will support all of the same features.
The same placement rule applies here, too. Put the extender where it can still receive a useful signal from the main router. Placing it deep inside the dead zone may give you more coverage on paper, but it can leave the extender with a weak connection to the network.
Don’t Underestimate Ethernet
Alongside the wireless solutions, I also use Ethernet cables for some devices and locations around the house. It is not the most exciting solution, but it is the one I trust most when a device can stay in one place.
I run Ethernet to things like a smart TV, desktop computer, and secondary access point whenever practical. When an access point uses Ethernet backhaul, it does not have to rely on a wireless connection back to the main router.
That removes one major source of wireless variability, especially when walls, floors, distance, or nearby networks are affecting the connection.
For fixed devices that do not need to be wireless, Ethernet is still my preferred option for consistent connectivity.
How to Boost Wi-Fi Signal in a Weak Area
If your main goal is to boost Wi-Fi signal, start with placement before buying new hardware.
A few changes can make a noticeable difference:
- Place the extender where the existing Wi-Fi is still usable: Don’t put it at the far end of the dead zone. The extender needs a reasonably strong connection to the main router before it can provide useful coverage farther away.
- Test with a speed test instead of relying only on signal bars: A strong signal does not automatically mean a fast connection. Test from the room or location where you actually have the problem.
- Match the solution to the problem: For an indoor dead zone, a dual-band range extender can be a simple option. For an outdoor or long-distance wireless link, a directional outdoor CPE such as the TP-Link CPE610 may be a better fit. For fixed devices, Ethernet is often the simplest and most consistent choice.
- Don’t assume an inexpensive extender will perform poorly: My extender cost less than $23 at the time, and in my setup, the measured speed was close to what I got from the main network.
- Think about placement before maximum advertised range: An extender placed in a good location can perform better than a more expensive device that is installed too far from the main router.
My Practical Tips for Extending Wi-Fi Range
After trying different approaches, these are the things that made the biggest difference for me:
- Fix the source before extending it: If the main router has a poor connection to your ISP or is struggling under heavy network use, an extender will not magically fix that problem.
- Test the connection at the problem location: Check both signal strength and actual speed. Signal bars are useful, but they do not tell you how much throughput you are really getting.
- Keep the extender between the router and the dead zone: Think of it as a middle point rather than a device that belongs inside the dead zone.
- Use Ethernet whenever it is practical: For a desktop, TV, game console, or access point that does not need to move, a cable can eliminate the wireless link between that device and the network.
- Use outdoor-rated equipment outdoors: A standard indoor extender is not automatically suitable for outdoor exposure or long-distance links.
- Don’t judge performance from one test alone: Wi-Fi speeds can change depending on the device, location, interference, network activity, and time of day. Run a few tests under similar conditions before deciding whether a setup is actually an improvement.
Final Thoughts
Extending Wi-Fi range does not always require an expensive setup. In my case, a low-cost dual-band extender solved the indoor dead zone, a directional CPE gave me a practical option for outdoor coverage, and Ethernet handled the fixed devices where I wanted the most consistent connection.
The biggest lesson I learned was to identify the problem before buying hardware. An indoor dead zone, an outdoor coverage problem, a long-distance building-to-building link, and a fixed desktop in a weak Wi-Fi area are all different situations.
So, when you’re looking for the best way to extend Wi-Fi range, don’t start with the device. Start with the problem. Once you know whether you need to improve indoor coverage, boost Wi-Fi signal in one room, connect two locations, or simply give a fixed device a more reliable connection, choosing the right solution becomes much easier.
In my experience, getting the placement and connection method right mattered more than simply buying a device with a bigger advertised range.
You May Also Like
 Internet
DISH vs Optimum vs Hughesnet: Which Is Better for Internet, TV, and Gaming?
 Computers & PC Games
How to Reduce Ping: 8 Fixes That Actually Help (PC, PS5, and Xbox)
 Internet
Is Tachus (Ezee Fiber) Internet a Good Provider? Complete Review & Plans
 Internet
Wi-Fi Connected but No Internet? Find the Cause and Fix It
 Internet
Is 1000 Mbps Good for Gaming? What 1000 Mbps Internet Speed Really Means
 Internet