
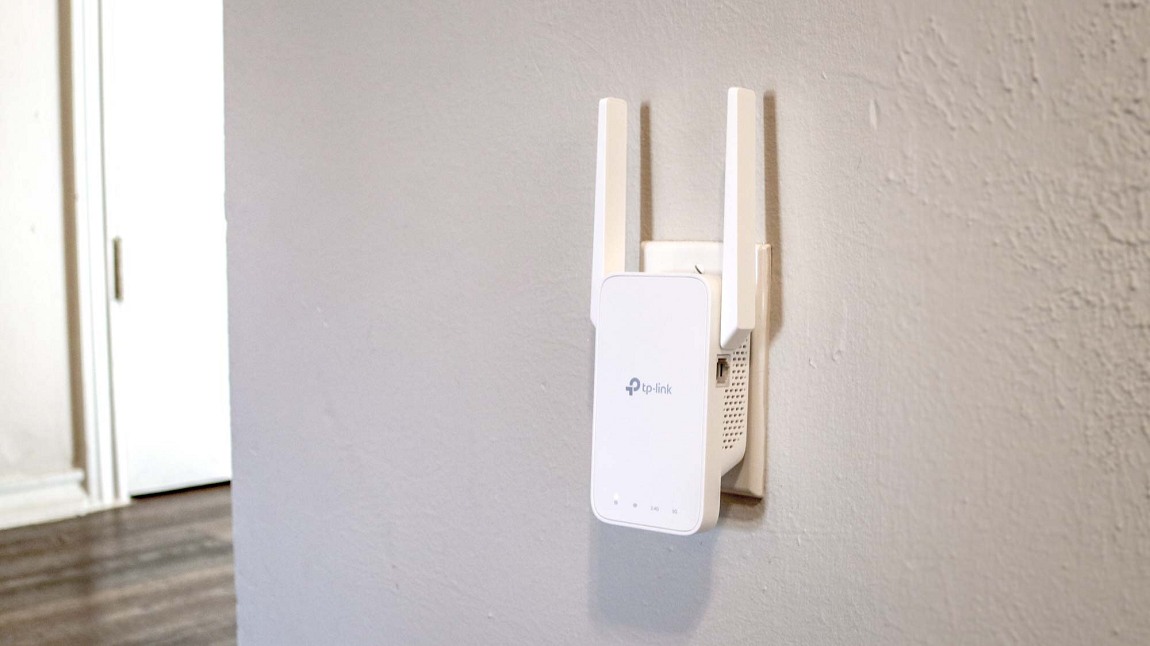
Finding the best place for a WiFi extender in a two-story house can make the difference between finally fixing a dead zone and wondering why the extender you bought barely helped.
I’ve installed extenders in multi-level homes, and I’ve made the same mistake myself: putting the extender too close to the room where the WiFi was already weak. It looked logical. The room needed better WiFi, so that’s where I put the extender.
The problem was that the extender was starting with a poor connection to the router.
That experience changed how I approach extender placement. The best place for an extender usually isn’t the dead zone. It’s the place where the extender can still receive a good signal from the router while being close enough to help the area with weak coverage.
For a two-story house, that often means a stair landing, hallway, open area between floors, or another location where the router’s signal is still usable.
Understanding WiFi Signal Behavior in Multi-Level Homes
WiFi signals spread in multiple directions from the router, but the signal gets weaker as it travels through distance and obstacles.
Walls and floors are a big part of the problem.
A lightweight interior wall may have a relatively small effect, while brick, concrete, metal structures, and some types of energy-efficient glass can create much larger losses. A concrete floor between the first and second story can be especially troublesome.
Furniture can add another layer of obstruction. Large cabinets, appliances, and other dense objects can make an already marginal signal worse.
Then there is interference. Your neighbors’ WiFi networks, Bluetooth devices, baby monitors, microwaves, and other wireless equipment can make a crowded area harder to work with.
That’s why two rooms that are only a few feet apart can sometimes have completely different WiFi performance.
What Do 1, 2, 3, and Full WiFi Bars Actually Mean?
The WiFi bars on your phone or laptop aren’t a scientific measurement. Different devices can display them differently, and the bars don’t tell you the full story about throughput, interference, or connection quality.
Still, I’ve found them useful as a quick way to decide where to start.
| WiFi signal | How I would treat it | What I’d do next |
|---|---|---|
| 1 bar | Usually too weak for the extender’s main receiving position | Move the extender closer to the router and test again |
| 2 bars | Worth testing | Check stability and real-world speed before settling on the location |
| 3 bars | Good starting point | See whether it still reaches the room you want to improve |
| 4 bars / full bars | Strong connection | Still test coverage because the extender may be too close to the router |
Here’s the mistake I would avoid: don’t put the extender where your router’s signal has already dropped to 1 bar and expect the extender to magically turn that into a strong connection.
An extender receives the router’s WiFi and then sends that connection onward. If the connection coming into the extender is already weak or unstable, you’re building the second half of your network on a poor first half.
In many homes, I would start testing around 2 to 3 bars. That isn’t a universal technical threshold. It’s simply a practical starting point.
If 2 bars gives you a stable connection and reaches the upstairs bedroom, that’s more useful than moving the extender somewhere with full bars where it doesn’t improve the room you actually care about.
How Does a WiFi Extender Actually Work?
A WiFi extender is basically a middle point between your main router and a device that is too far away or separated by too many obstacles.
The basic path looks like this:
Router → WiFi extender → phone, laptop, TV, console, or other device
The extender receives the wireless signal from the router and rebroadcasts it farther into the home.
That’s why placement matters so much.
Imagine your router is downstairs and your bedroom upstairs gets only 1 bar. Putting the extender inside that bedroom sounds sensible, but the extender still has to communicate with the router. If it also receives only 1 bar, you’re not giving it a particularly good connection to work with.
Move it halfway toward the router, perhaps near the stairs, and you might find 2 or 3 bars instead. Now the extender has a much better link from which to serve the bedroom.
There’s another important detail: an extender doesn’t create new internet bandwidth out of nowhere. It extends wireless coverage, but the connection between the router and extender still has to carry the traffic.
Wireless backhaul can also reduce available throughput on some extenders, particularly when the same radio is being used heavily for both the router connection and client devices. Some newer systems use additional radios or a dedicated backhaul to reduce that limitation.
For this reason, I wouldn’t judge an extender purely by its advertised maximum speed.
How Far Can a WiFi Extender Reach?
This question sounds simple, but there isn’t one honest maximum distance for every WiFi extender.
You may see a manufacturer advertise coverage of a certain number of square feet or a very long theoretical range. Those figures are useful for comparing products, but they aren’t a guarantee that you will get strong, fast WiFi at the far edge of that area.
The actual range depends on:
- The WiFi band being used
- Router and extender power and antenna design
- Wall and floor construction
- Interference from nearby networks and devices
- The position of the router and extender
- The receiving device
- The amount of throughput you need
In general, 2.4GHz travels farther indoors than 5GHz, especially through obstacles. 5GHz can provide higher speeds under good conditions but usually loses useful signal more quickly as distance and obstacles increase.
That’s why I wouldn’t tell someone, “Put the extender exactly 50 feet away.” A better approach is to check the signal at that location.
In an average home, I would start by testing relatively close to the weak area but moving back toward the router until I get a stable connection. If that means the extender ends up 20 feet away, great. If the best location is 40 feet away, that’s fine too.
The goal is not maximum distance.
The goal is the best balance between the router-to-extender connection and the extender-to-device connection.
The Middle-Floor Strategy for Maximum Coverage
If your main router is on the first floor, the staircase landing is one of the first places I would test.
A stairway can be useful because it often gives the wireless signal a more open path between floors. That’s not guaranteed in every house, but it can be a much better starting point than a closed bedroom or closet.
I’ve had situations where the second floor looked like the obvious place for the extender, only to get better results by moving it closer to the stairs.
The basic setup is:
Router downstairs → usable signal near stairs → extender → upstairs rooms
The extender doesn’t need to sit directly beside the router, nor does it need to sit in the dead zone.
You want it somewhere in the middle where the incoming signal is still good enough to be useful.
Where Should You Place a WiFi Extender Upstairs?
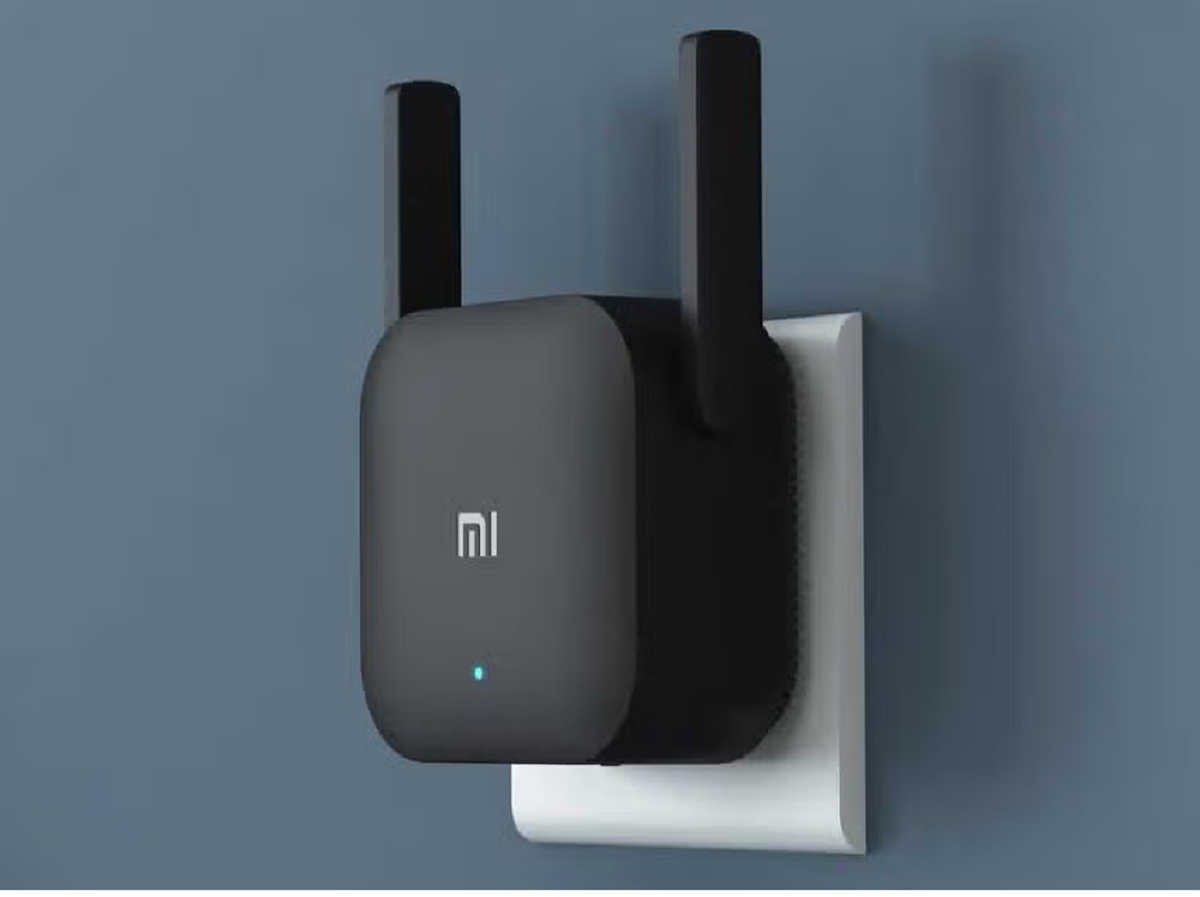
If your router is downstairs and the upstairs bedroom gets 1 bar, I wouldn’t start by putting the extender in that bedroom.
Instead, walk from the bedroom toward the router and watch the signal.
Maybe it looks something like this:
Bedroom: 1 bar → hallway: 2 bars → top of stairs: 3 bars → downstairs: 4 bars
In that situation, the top of the stairs is worth testing.
The extender has a stronger connection to the router than it would in the bedroom, while still being close enough to help the upstairs area.
This is one of the most useful lessons I’ve learned from placing these devices: you are looking for the transition point between good coverage and poor coverage, not simply the room with the worst signal.
Optimizing First-Floor Placement
If your router sits in a far corner of the first floor, an extender may work better closer to the center of the house.
Hallways are often worth testing because they can connect several rooms without putting the extender behind a large piece of furniture.
I don’t automatically choose a hallway, though. I check the signal there first.
If the hallway has 3 bars and the room beside it has 1 bar, that’s a promising setup.
If the hallway itself only has 1 bar, I’d move closer to the router.
I also try to avoid kitchens when possible. Appliances, metal surfaces, cabinets, and other obstacles can make the area harder to work with. That doesn’t mean a kitchen can never work. It simply isn’t the first place I’d test.
Second-Floor Strategic Positions
When you’re trying to improve both floors, stairways, open hallways, and central areas are usually the first locations I’d investigate.
For a home office, I would prioritize the actual workspace. A 3-bar connection in the office that stays stable during a video call is more valuable than a strong signal in a hallway that nobody uses.
The same applies to gaming.
If your gaming PC or console is upstairs and the current connection drops to 1 or 2 bars, test the area around the stairs and hallway first. Then check the actual game from the gaming device.
A speed test can look good while an online game still experiences packet loss, interference, or inconsistent latency.
If your main problem is gaming responsiveness, our guide on fixing high Fortnite ping covers a different side of the problem.
What Can Block a WiFi Signal?
Walls are one of the biggest reasons a location that looks close on paper performs badly.
Drywall: Usually less troublesome than dense construction, although several walls in a row can still weaken the signal.
Brick and concrete: These can cause significantly more signal loss and are common trouble spots in multi-story homes.
Metal: Metal structures, appliances, cabinets, and other large metal objects can create substantial obstacles.
Mirrors: Some mirrors have metal backing that can interfere with wireless signals.
Glass: Ordinary glass may not be a major problem, but some modern energy-efficient windows use coatings that can affect radio signals.
Water: Large bodies of water can absorb some wireless energy, so placing network equipment right beside a large aquarium isn’t ideal.
Floors and ceilings: The material between the first and second floors can matter just as much as horizontal distance.
This is why I prefer to walk around the house and actually test the signal instead of measuring the number of feet between two rooms.
Using Multiple Extenders Effectively
A larger house may need more than one extender, but adding another unit isn’t always the answer.
First, get the first extender working properly.
If the first extender has a weak connection to the router, adding a second extender farther away can simply extend a bad setup.
For multiple extenders, I prefer a layout where each unit has a solid connection to the network rather than creating a long chain of weak wireless links.
A simple example is:
Router → Extender 1 → one side of the house
Router → Extender 2 → another side or floor
Some devices can connect through another extender, but every additional wireless hop introduces another link that can affect throughput and latency.
That’s one reason mesh systems are worth considering for larger homes. They are designed as a coordinated multi-node network rather than simply adding separate repeaters.
Using the same SSID and password can make a multi-access-point setup easier to use, but it doesn’t automatically guarantee perfect roaming. Your devices still make many of the decisions about when to switch access points.
Testing and Fine-Tuning Your Placement
This is the part I care about most.
You can follow every placement rule correctly and still end up with a mediocre result because every house is different.
I usually test a few locations rather than committing to the first outlet I find.
Test 1: The weak room. Check the signal where the problem happens.
Test 2: Move toward the router. Look for a location where the signal improves to around 2 or 3 bars.
Test 3: Install the extender there. Then check the original problem area again.
Test 4: Move it slightly. If the result isn’t good enough, move the extender a few feet and test again.
You can also use a WiFi analyzer app to look at signal strength more precisely, but you don’t need one to get started.
For a normal household, simply walking around with your phone and noting where the signal changes from 3 bars to 2 and then 1 can already tell you a lot.
Most importantly, test the activities that matter.
Try:
- Browsing
- Video streaming
- Video calls
- File transfers
- Online gaming
A location that produces a good speed-test number isn’t automatically the best location for every use.
My Simple Two-Story Placement Test
When I have a router downstairs and a weak room upstairs, this is the process I’d use.
Step 1: Check the bedroom. If it has 1 bar, I don’t put the extender there yet.
Step 2: Walk toward the stairs. If I reach 2 bars, that’s a candidate.
Step 3: Keep walking. If the stair landing gives me 3 bars, that’s one of the first positions I’d test.
Step 4: Compare the result. After connecting the extender, I check the bedroom again.
Step 5: Move it if necessary. Sometimes the best spot is not exactly on the stairs. A nearby hallway outlet might work better.
This approach is simple, but it prevents one of the most common mistakes: putting the extender where the original WiFi is already too weak.
Technical Considerations Beyond Placement
Wired backhaul can make a big difference
If you can run Ethernet between the router and the upstairs access point or compatible extender, that’s often worth considering.
With a wired backhaul, the upstairs device doesn’t have to use WiFi to receive the network connection from downstairs. That can remove one of the biggest limitations of a wireless extender setup.
For homes that already have Ethernet wiring, this can be a better solution than trying to force a weak wireless connection through a concrete floor.
2.4GHz or 5GHz?
The two bands behave differently.
2.4GHz: Usually reaches farther and handles obstacles better, but it is also more crowded in many neighborhoods and often offers lower maximum throughput.
5GHz: Usually provides higher speeds under good conditions, but its useful range is typically shorter and it tends to lose strength faster through walls and floors.
If an extender is near the stairs and the upstairs room is several walls away, don’t assume that the faster 5GHz connection will always remain the best option.
WiFi 6 and newer standards
For a new purchase, I generally wouldn’t choose an old WiFi 4 or very basic WiFi 5 extender simply because it’s cheap.
A modern WiFi 6 extender can make more sense when your router and client devices also support newer standards.
That doesn’t mean a WiFi 6 extender automatically gives you faster internet. Your router, internet plan, client devices, and wireless conditions still matter.
Which WiFi Extender Brands Are Worth Considering?
I don’t think there is one brand that is automatically best for every house.
For a straightforward extender, the brands I’d look at first are TP-Link, NETGEAR, and ASUS. They have established WiFi product lines and offer models ranging from basic extenders to higher-end WiFi 6 and mesh-compatible equipment.
Here is how I would think about them:
| Brand | Why I’d consider it | Who I’d look at it for |
|---|---|---|
| TP-Link | Large range of extenders and easy availability across different price levels | Most households looking for a practical upgrade |
| NETGEAR | Strong range of networking hardware, including higher-end extender models | Larger homes or users who want more advanced hardware |
| ASUS | Good choice when you already use ASUS networking hardware and want ecosystem compatibility | ASUS router owners and users interested in AiMesh-compatible options |
Models change over time, so I would check the current product lineup rather than buying solely because a model appears on an old “best extender” list.
For example, WiFi 6 models in the TP-Link RE-series, NETGEAR EAX-series, and ASUS RP-series are the kinds of products I’d investigate when shopping.
I would pay attention to the following before looking at the headline speed:
Router compatibility: Does it work well with the router you already own?
Backhaul: Does it have a dedicated wireless backhaul or Ethernet option?
WiFi standard: Is it WiFi 6 or newer if you’re buying for a modern network?
Placement indicators: Does the extender make it easy to see whether its connection to the router is strong?
Access point mode: Can you use Ethernet backhaul if you later decide to wire the connection?
Firmware support: Does the manufacturer still actively support the device?
If you have a larger home with several weak areas, I’d seriously consider a mesh system instead of buying several traditional extenders. TP-Link Deco, ASUS ZenWiFi, and Amazon eero are examples of mesh product families worth comparing. I would choose the system based on the router ecosystem, house layout, wired-backhaul options, and budget rather than simply choosing the brand with the biggest coverage number.
When Should You Use a Mesh System Instead?
A conventional extender can be enough when one bedroom, office, or upstairs area has weak coverage.
A mesh system starts to make more sense when:
- Several areas have dead zones
- You need multiple access points
- The house has several floors
- Many devices are connected at once
- You want one system to manage the entire home
I’ve seen situations where repeatedly moving an extender wasn’t enough for a larger home. In those cases, using multiple coordinated access points or a mesh setup made more sense than continuing to add conventional repeaters.
For a single weak room, though, I wouldn’t spend several hundred dollars on a mesh system automatically.
Sometimes the best fix is moving a $30–$80 extender to a better outlet.
Common WiFi Extender Placement Mistakes
Putting the extender in the dead zone: If the router signal is already 1 bar there, move closer to the router.
Hiding it behind furniture: An enclosed cabinet is convenient, but it may not be a good wireless location.
Focusing only on distance: Twenty feet through a concrete wall can be worse than forty feet through an open hallway.
Chasing full bars: A full signal right next to the router doesn’t help much if the upstairs bedroom is still out of range.
Ignoring the device you actually use: Test the laptop, TV, phone, or gaming console that has the problem.
Adding more extenders too early: Fix the first wireless link before building a larger network.
The Best Way to Find the Right Location
If you want a simple starting point, walk through the house with your phone.
Find the room where the WiFi is poor.
Then walk toward the router.
Watch how the signal changes.
1 bar: Usually too weak for the extender’s receiving position.
2 bars: Worth testing.
3 bars: One of the first positions I’d try.
4 bars or full bars: Strong connection, but possibly too close to the router to solve the problem area.
Then install the extender and test again from the room that originally had the problem.
If the bedroom goes from 1 bar to 3 bars and your connection remains stable during the things you actually do there, you’ve found a useful location.
You don’t need to chase a perfect number.
You need a location that works.
Frequently Asked Questions
Does a WiFi Extender Need to Be on the Same Floor as the Router?
No. In a two-story home, an extender can work well upstairs even when the router is downstairs. The key is giving the extender a usable connection to the router.
How Many WiFi Bars Should an Extender Have?
As a practical starting point, I would look for around 2 to 3 bars from the main router at the extender’s location. One bar is often too weak, while full bars aren’t necessarily required.
WiFi bars aren’t standardized, though, so test the actual connection too.
Can I Put an Extender Upstairs if My Router Is Downstairs?
Yes. This can work very well. I would test near the stairs, a central hallway, or another open area where the extender still receives a decent signal from the router.
How Far Should a WiFi Extender Be From the Router in a Two-Story House?
There isn’t one ideal distance.
Instead of using a fixed number of feet, check the signal at the planned location. A spot with a usable 2 to 3 bar connection is often a better starting point than a location chosen by distance alone.
What Is the Maximum Range of a WiFi Extender?
There is no single maximum distance that applies to every extender.
A manufacturer’s coverage figure is usually based on favorable conditions and shouldn’t be treated as guaranteed high-speed coverage. Walls, floors, interference, the WiFi band, and the receiving device all affect real-world range.
For indoor use, I would focus less on the maximum number and more on where the extender still receives a stable signal from the router.
Will Walls Affect WiFi Extender Performance?
Yes. Drywall is usually easier for WiFi to pass through than brick or concrete, while metal structures and some coated glass can create more significant problems.
In a two-story home, the floor or ceiling between levels can be one of the biggest obstacles.
Will Multiple Extenders Interfere With Each Other in a Two-Story Home?
They can, depending on the hardware and network configuration.
Rather than simply separating them by a fixed number of feet, place each device where it has a strong enough connection to the network and avoid creating unnecessary wireless hops.
Does Furniture Placement Affect Where I Should Put My Extender?
Yes. Large furniture, cabinets, metal objects, and dense materials can obstruct the wireless path.
I generally prefer an open location instead of hiding the extender behind furniture.
Is Full WiFi Signal Always the Best Place for an Extender?
No. Full bars indicate a strong connection, but the extender may be too close to the router to help the area you care about.
A slightly weaker signal in a more useful location can sometimes produce better whole-home coverage.
Final Thoughts: Find the Best Balance, Not the Longest Range
After working with WiFi extenders in two-story homes, I wouldn’t choose the location by distance alone.
I look at what the signal is doing.
If the room has 1 bar, I move toward the router.
At 2 bars, I start testing.
At 3 bars, I have a promising location.
With full bars, I know the extender has a strong connection, but I still check whether it’s actually helping the room that needs it.
The same principle applies to walls and floors. A short distance doesn’t automatically mean a strong connection. A router and extender separated by a thick concrete floor can have a harder time communicating than two devices farther apart with fewer obstacles between them.
And that’s why I don’t put too much faith in an advertised “maximum range.”
The number on the box might tell you what the hardware can achieve under favorable conditions. Your house tells you what it can actually do.
Start with the signal you already have, place the extender where that signal is still usable, and then test the room where you need better WiFi.
For many two-story homes, the best location ends up being somewhere around a staircase, hallway, or open area between the router and the weak room.
You don’t need perfect WiFi everywhere.
You need a connection that works reliably where you actually use it.
You May Also Like
 Computers & PC Games
What Internet Speed Do I Need For Gaming and Streaming?
 Internet
How to Fix Slow Internet: 15+ Things That Actually Work
 Internet
Why Is My Xfinity Internet So Slow All of a Sudden
 Internet
3 Cheap Satellite Internet Providers: Plans, Pros and Cons, Ratings, and Rural Coverage
 Internet
DISH vs Optimum vs Hughesnet: Which Is Better for Internet, TV, and Gaming?
 Computers & PC Games